How to make tree olives become table olives
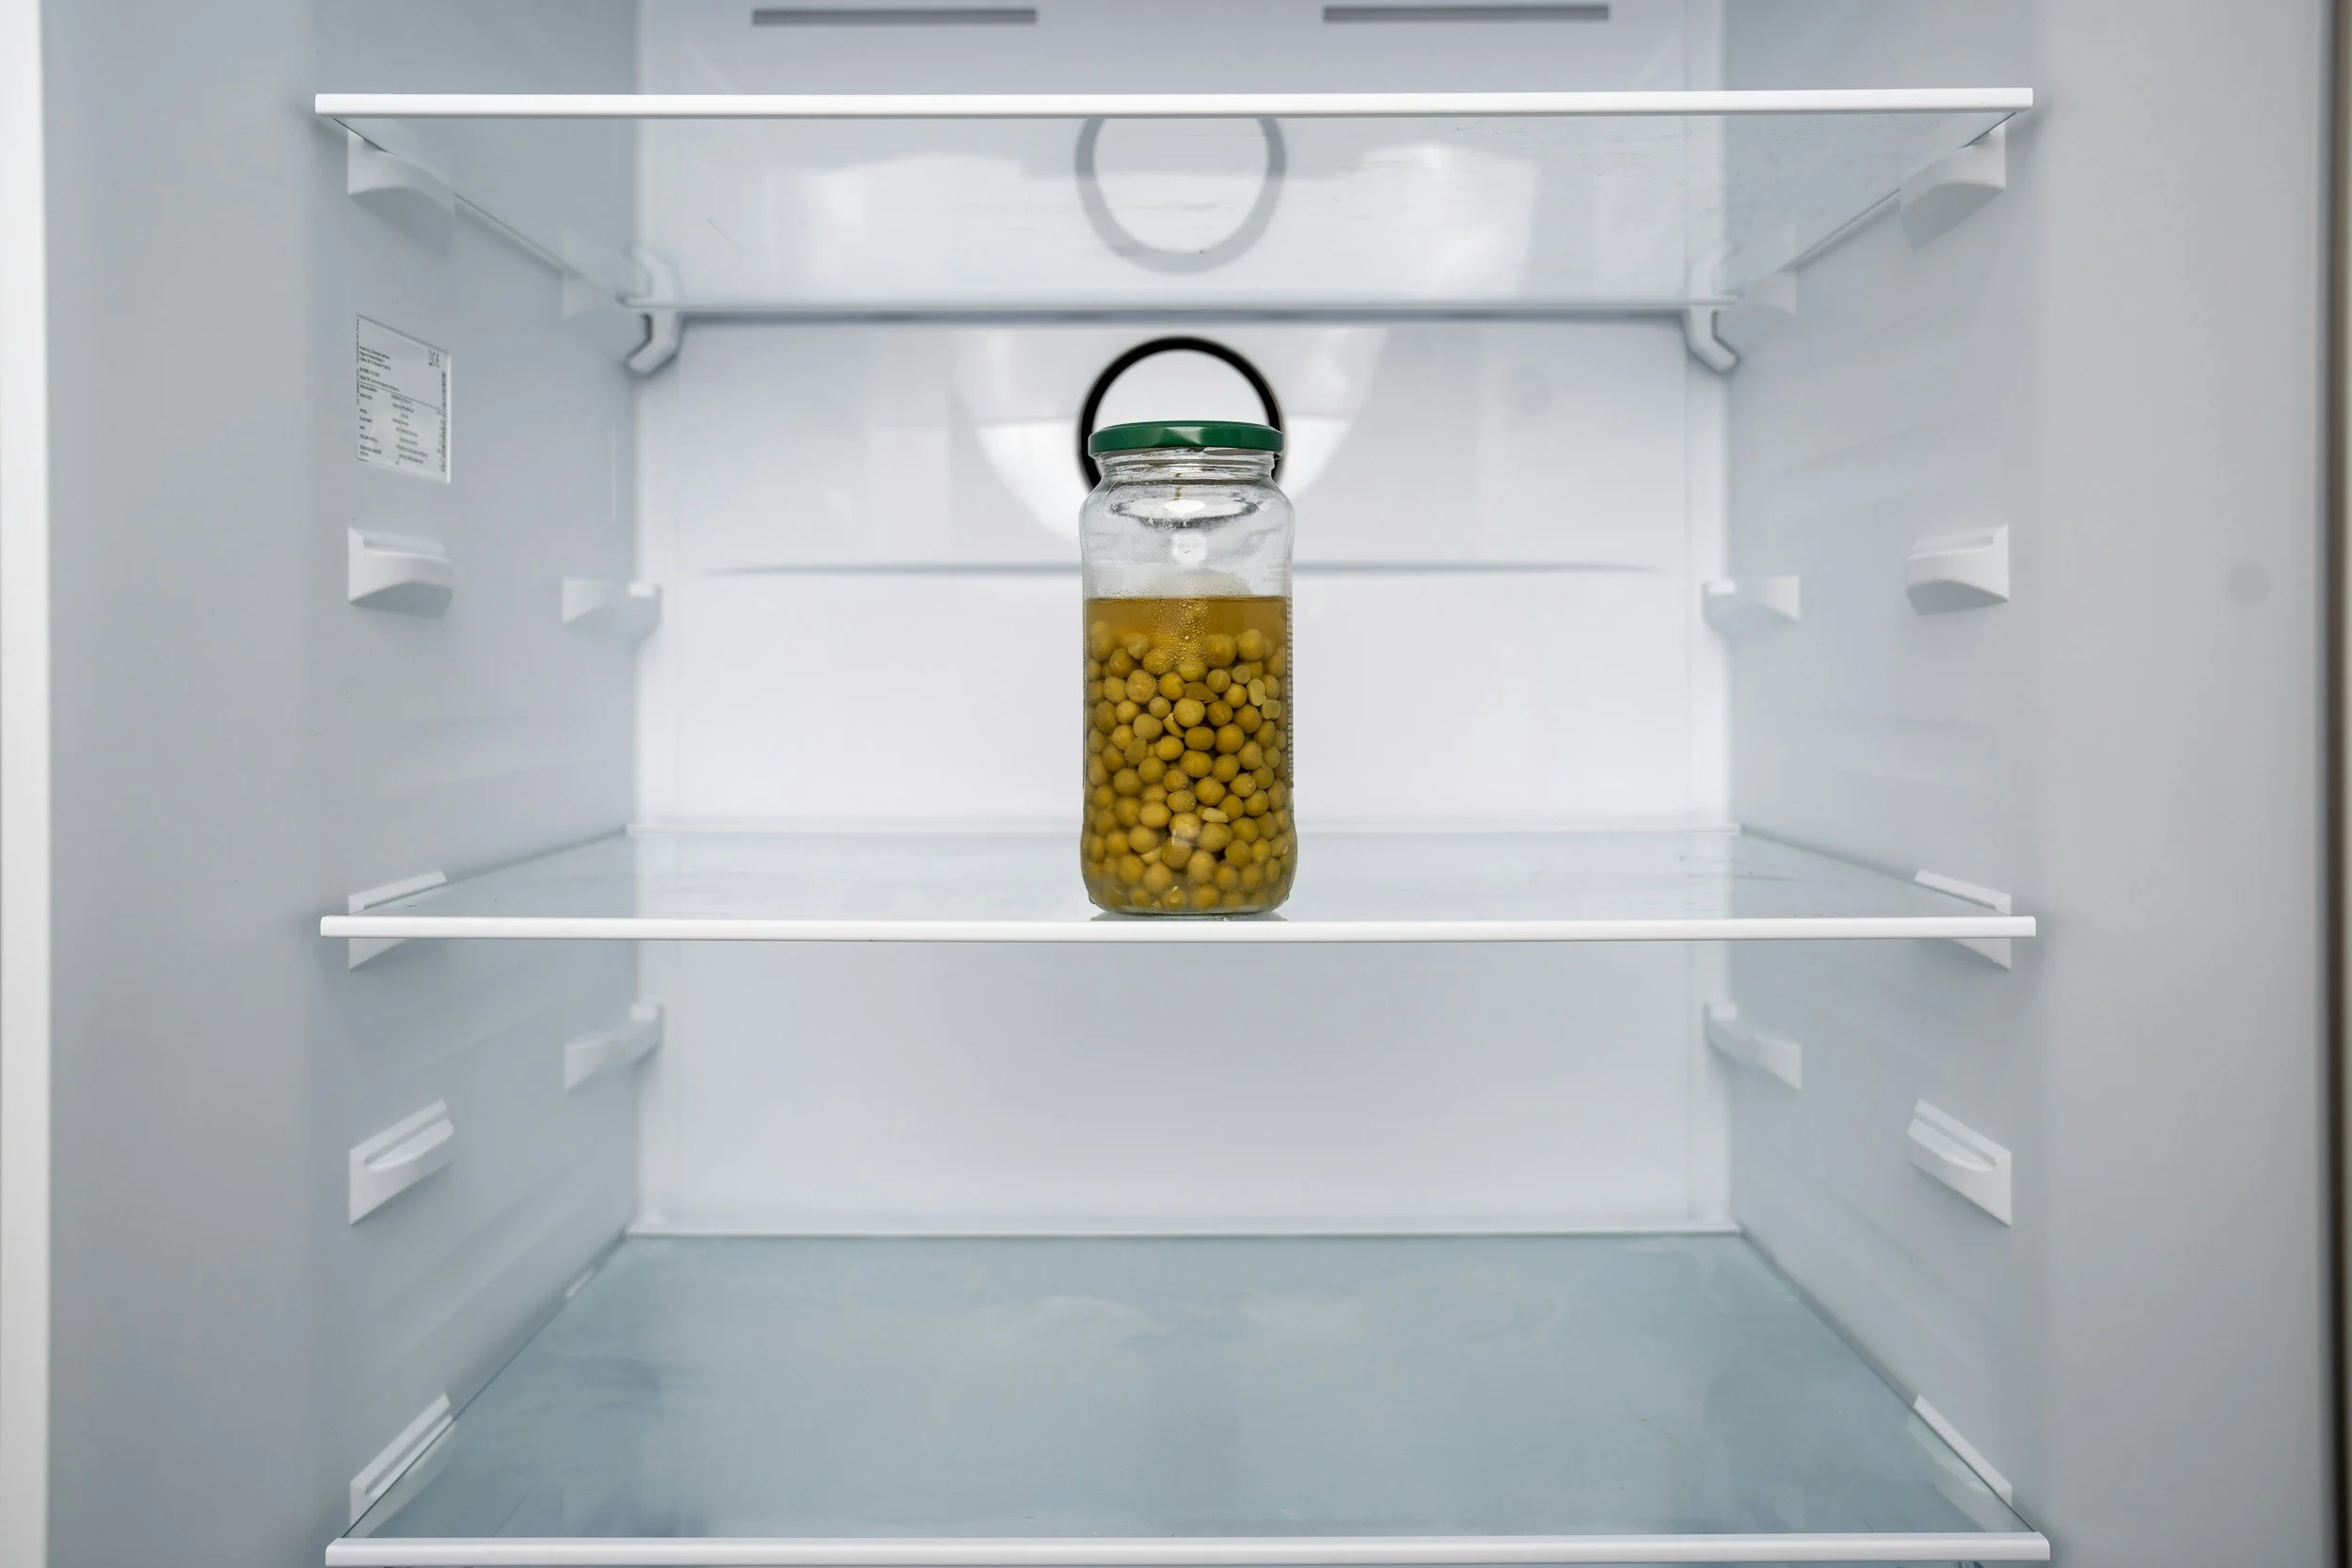
If you have nothing else in your fridge…
If, like me, you’ve ever been tempted to nab an olive from a tree and popped it straight in your mouth, expecting table olive type flavour, you’ll know just how mistaken that is. Eek!
No matter how long that olive stays on the tree, it’s not going to sweeten!
So if you’re growing olives on a tree in England and thinking it’s about the climate, think again.
That little green fruit is full of oleuropein, a substance that makes it super-bitter.
For an olive to be edible, it has to be treated.
Pickle your own
One of the most satisfying things ever has to be hand-picking your own olives, ideally under a baking sun, rinsing them in water (ideally from a fresh spring) and soaking them, full of hope that you’ll have lovely table olives within a few weeks.
Preparing your Olives
To prepare, take off the stems and leaves (and discard). Check for any deformed, very hard olives with miscoloured spots. They’ve usually been ‘got’ by flies. (Discard!)
Give them a good rinse and you’re ready to start.
The process - soaking method
First, find your container. If you’re just doing a small amount, you can do this in a sealed jar. I’ve normally had to use large, clean (new) buckets.
Olives can be debittered by pricking the skins (or hammering them, but that seems a bit brual and leaves the olives ‘mashed’) and soaking them in water, changing the water regularly. This method, using water alone,can take months and the water MUST be regularly changed.
Fermenting them in salt water, brine, is quicker, and usually takes just two weeks. Again, the water MUST be regularly changed.
You just keep changing the water every day or two until you have the softness of flesh you want. (Many Spanish people in rural areas enjoy them still quite hard.)
Once you have the texture you want, you can put them in a clean, sealed container in brine or oil. Personally I like olive oil, but that can be expensive when you’re still experimenting.
It’s popular to add other flavourings at this stage: strong herbs like fennel (hinojo) or basil (albahaca) which hold their own well, spices, lemon, or garlic are among the favourites.
Note: you will get scum during the process - this is not mould and can be washed away with the water change.
Almost counter-intuitively, adding lemon or vinegar can actual help to make them LESS bitter - the acid apparently helps break down that oleuropein. (Am I feeling grand for using the term?! I’ll be honest, I have to look it up to remind myself!)
While I was looking for some references for this blog, double checking my facts, someone had recommended a handy little trick: a handy trick: part-fill a plastic bag with water, tie it at the top, sit it on top of the olives to keep the olives underwater. (I would note that the plastic bag should be a clean, new one, or keeping any ‘polluted’ air out is just introducing ‘pollution’ via the bag.)
Black olives and red wine vinegar
If you’ve left your olives to get really ripe and turn black, you might want to pickle them in red wine vinegar. Once you’re ‘debittered’ the olives, tip off all of the brine (drain well) and leave the olives to stand in a bowl, and with medium/coarse salt – around 100 g for each kilo of olives. Cover with a clean cloth and leave for around 10 hours. Then rinse off the salt and once fully drained transfer the olives to a jar or bowl. Cover with red wine vinegar, seal the lid, and leave for two days. The olives will become sweeter and softer - drain off the vinegar and then fill the jar with olive oil, covering the olives and sealing.
Commercial and Some Domestic Production Using Lye
Many people now use lye (sodium hydroxide) to help speed the process. I personally went to find it and thought I was was being sold caustic soda, which I couldn’t bring myself to use on food - but indeed it is, in Spanish, sosa caustica.
Don’t let my over-sensitivity to lye/chemicals stop you trying it: almost every olive on a supermarket shelf will have been cured using a lye.
And I found you this lovely video explaining how to use it properly!
Salt Curing Olives
I have never tried this, lacking both the patience and space, but…..
Pack a centimetre-thick layer of salt over the bottom of the (thorougly clean) receptacle you’ll be curing your olives in. Add a single or double layer of olives on top of the salt. Cover the layer of olives, adding more salt to get to a layer a centimetre thick before adding the next layer of olives. That layer should, again, be a single or double layer of olives on top of the salt. Repeat, adding more salt on top of the olives to get to a layer a centimetre thick before adding the next layer of olives. Which you continue doing until the top of the receptacle or all olives are completely covered in salt.
Leave them alone, occassionally stirring them - the keen will do this daily. Keep the olives covered by adding more salt when necessary. The bitter juice will leach out, and the salt will turn into a paste. If it’s totally liquid, drain them, putting them back into your container with fresh salt, in layers, the same way as you started.
The olives will be ready when the flesh is as soft as you want it and they taste like you want them to. Black olives will cure faster than green ones, and the process can last anything from three weeks to eight months, depending on the ripeness and bitterness of the olives.
Brush off all salt, or gently rinse. If you rinse, you’ll need to spread the olives out (single layer) to dry dfor a couple of hours (or overnight).
Toss in oil and serve!
Storing your olives
My olives have never lasted long enough to go off. But here’s some good advice adapted from Eat Healthy.
Refrigerator Storage (Up to 3 Months)
Use scrupulously clean, dry, glass jars with tight non-corrosive lids. Mason jars are ideal. If you can find a coloured jar, blue or green, it helps keep light out and slows the natural decaying process
Gently, firmly, pack the cured, pickled olives into them - firm enough to pack each jar without bruising your olives
Pour your pickling brine over the olives, ensuring they are completely submerged in pickiling liquid, brine or oil to keep air out and prevent mould or the olives rotting. Leave about half an inch of space above the olives to create a seal and let the olives ‘breathe’. They may expand.
With the lid on tight, pop in the fridge, allowing them to sit for at least a week for flavours to expand if you can resist for that long.
Olives can also be frozen.
Keep in the dark
Unopened jars of brine-cured olives can keep for up to a year if kept in a cool,dark place.
Once opened, eat within a month.
Are my olives off?
Scum whilst pickling is normal, and can be washed off.
Furry bits, however, are not. One olive exposed to the air with a little fur is like a fruit bowl - throw it out and if you’ve caught it soon enough youve saved the rest. Many olives going furry means they’re off - sorry!
(I do know people who just rinse them and have lived to tell the tale, but I wouldn’t!)
If they start to smell bad or obviously ferment (bubbling/fizzing), that too means they’re off and no longer edible.
It’s normal for the pickling liquid to colour or go a little cloudy and for the olives to continue to soften. Similarly yeast, broken off bits of olive and spices may settle in the bottom of the container. And if you’ve added garlic, it is usual for it to change colour.
ENJOY! (¡Disfrutate!)
If you, like me, are fascinated by olives as a backdrop to Spanish culture, or simply want to use the olives as an excuse for a conversation, join us for our online conversation class on October 1, 2026.